ArchimedLight.jlLight in 3D plant scenes
Simulate radiation interception and scattering from individual organs to crop canopies.
Simulate radiation interception and scattering from individual organs to crop canopies.
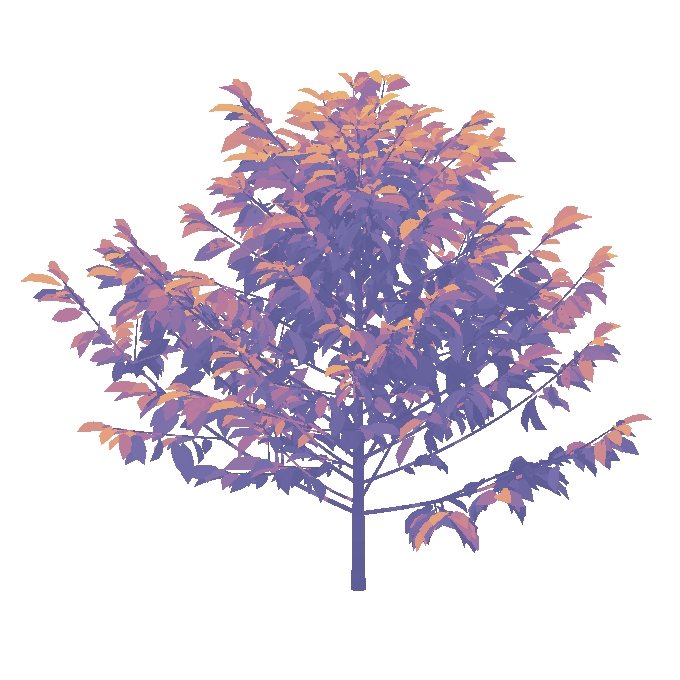
ArchimedLight.jl computes light interception and scattering in three-dimensional scenes, from individual organs or objects to crop canopies, using a fast radiation transfer model. Read an existing scene or build one in Julia, simulate its light environment, and inspect incident and absorbed radiation on each organ.
Here's a live example of a wheat plant in a field, with incident PAR irradiance coloured on the plant and ground. This example is not precomputed; it runs the simulations live in your browser like it would in a real-world scenario. Move the sun over a wheat plant created using ArchiCrop (Braud et al. 2026), then explore scattering, periodic boundaries (toricity=true), pixel resolution (lower is better) and number of sky sectors (higher is better).
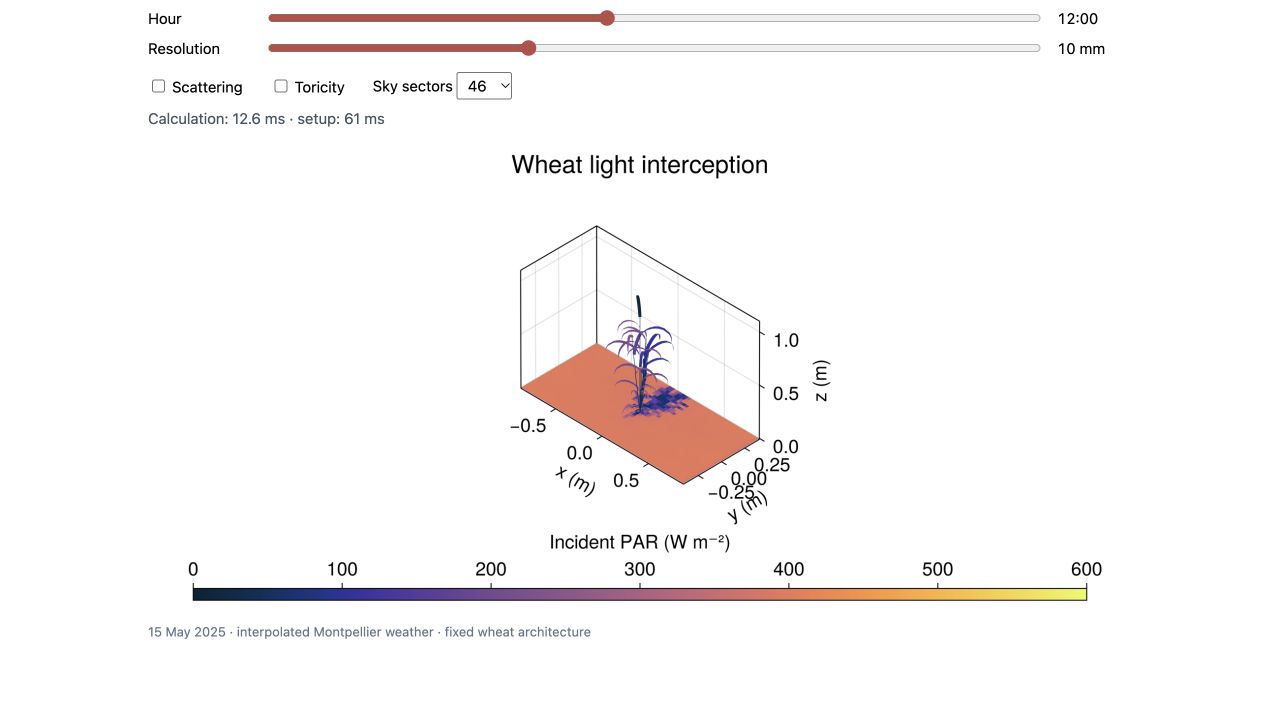
This fixed benchmark wheat architecture has an unspecified cultivar. Weather is interpolated from Montpellier estimates for 15 May 2025. The browser runs a compiled specialization of the light calculations; source, provenance and validation notes describe its scope and reproduction.
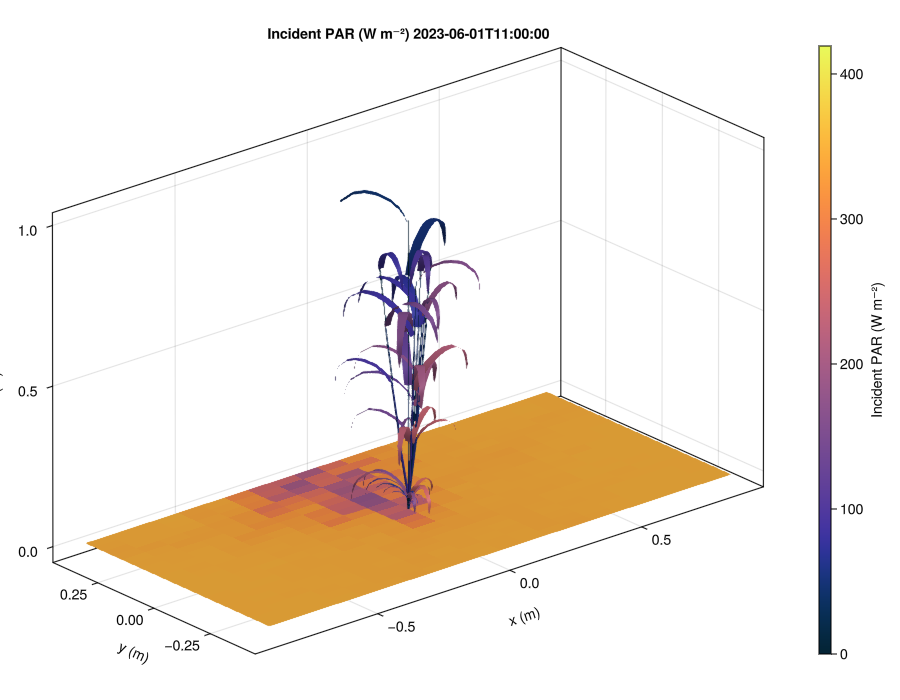
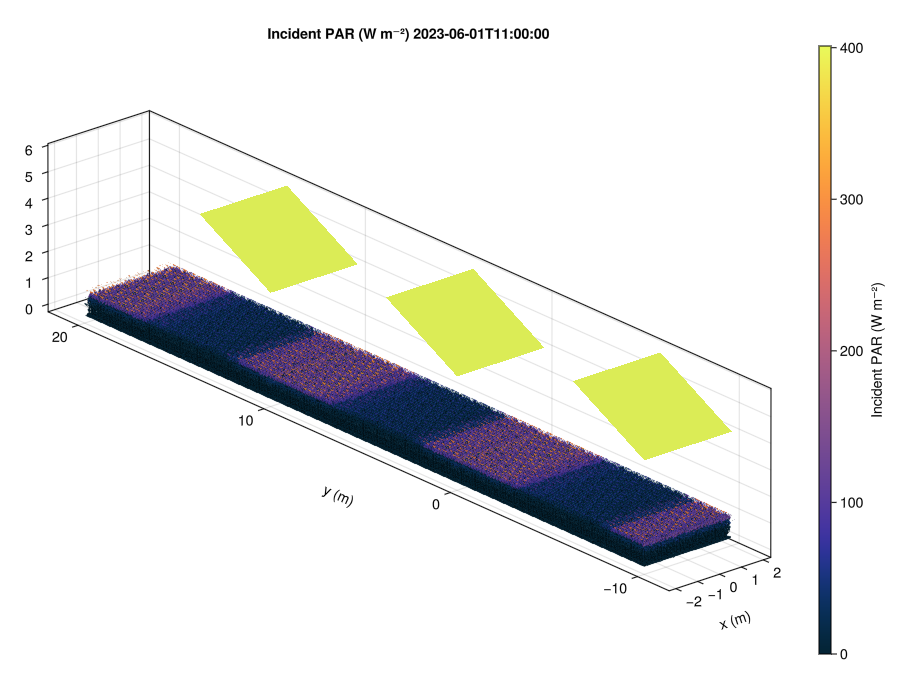
The day-cycle animations run the wheat and agrivoltaic wheat benchmark scenes every 30 minutes over a representative clear-sky day. About 2,500 receiving ground tiles show the moving shade on the same incident-PAR scale. Reproduce them with docs/make_video/make_video.jl.
This tutorial uses 1 cm pixels instead of the default 1 mm pixels to keep the coffee simulation quick.
using ArchimedLight

repo_root = normpath(joinpath(dirname(pathof(ArchimedLight)), ".."))
config = joinpath(repo_root, "example_2", "config.yml")
sim, meteo = read_simulation(config)
update_options!(sim, LightOptions(sim.options; pixel_size=0.01))

step = run_light(sim, first(meteo))

step.budget.incident_flux.total.par;
step.budget.absorbed_energy.total.par;
The simulation results are grouped by quantity and waveband in LightBudget. When you attach those values back onto the scene, the default attribute names keep the standard ARCHIMED naming convention such as Ri_PAR_f, Ri_PAR_q, and Ra_PAR_q.
Getting Started: run your first simulation.
File-Based Workflow and Interactive Workflow: load a scene or build one in memory.
Model Pipeline and Evaluation: understand the methods and their validation.
PlantSimEngine Coupling: connect light to other plant processes.
Configuration, Outputs and API Reference: find exact options and result definitions.